
Pre-writing strokes are simple lines, curves and shapes used for pencil-control practice before or alongside early letter writing. Instead of asking a learner to form a complete letter straight away, you can isolate one movement at a time: a line down, a line across, a curve, a wave or a loop.
There is no need to turn this into a long drill. A short page with large, clearly spaced paths can be enough. The aim is to give the learner a simple movement to follow, with adult guidance when needed, and then stop before the activity becomes tiring or repetitive.
What are the basic pre-writing strokes?
For a practical preschool worksheet, it helps to begin with movements that are easy to see and repeat. Straight lines are usually simpler to follow than a page full of curves and turns, so you can start there and gradually introduce more direction changes.
The eight activity types below cover the main patterns we use in the MindAgo Pre-Writing Adventure Pack. You can use the same ideas with a pencil, crayon, whiteboard marker or even finger tracing before putting pencil to paper.
1. Vertical lines: trace from top to bottom
Start with large vertical paths. Place a clear starting point at the top and a finish point underneath it, then ask the learner to move straight down.
A simple theme can make the direction obvious: rain falling from a cloud, a lift moving down, or a path from a bird to its nest. Keep the line wide and leave generous space between each path so neighbouring lines do not become visual clutter.
2. Horizontal lines: move from left to right
Horizontal tracing gives the learner a different direction to control. Put the starting point on the left and the destination on the right. Roads, bridges, train tracks and “help the animal reach its food” paths work well because the movement has an obvious beginning and end.
If the learner reverses direction, simply point back to the starting marker and demonstrate the path again. The page does not need many repetitions; a few clear attempts are usually more useful than filling every empty space.
3. Diagonal lines: practise slanting movements
Diagonal paths introduce the slanted strokes that later appear in letters and shapes. Practise both directions rather than using only one repeated slash.
Try a page with a few long diagonal lines first. Later, combine up-and-down diagonals into mountain paths or simple roof shapes. Keep the corners roomy so the child has time to change direction.
4. Curves and bumps: make smooth direction changes
Curved paths ask the pencil to change direction without stopping at a sharp corner. Begin with one large curve, then move to repeated humps or gentle “bump” patterns.
You can turn these into hills, caterpillar backs or rounded roads. If the learner is concentrating so hard on staying exactly on the line that the movement becomes tense, make the path larger or wider rather than adding more repetitions.
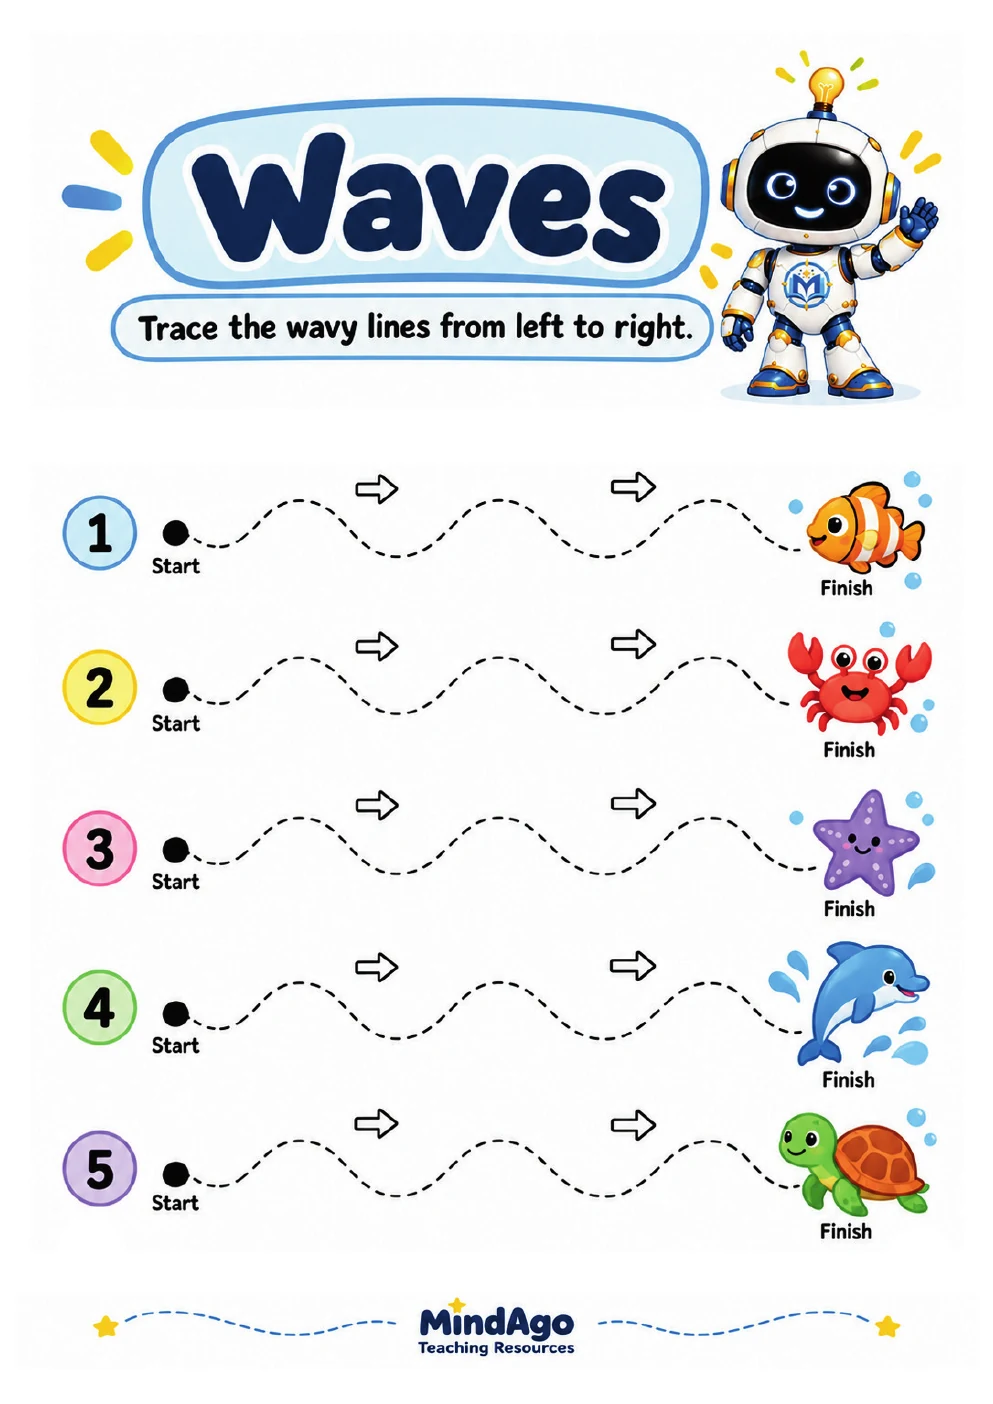
5. Waves: follow a flowing path
Wavy lines combine repeated up-and-down curves. They are useful for practising a continuous movement across the page without the sharp turns of a zigzag.
Ocean waves are an easy visual theme: trace across the water from a boat to an island, or follow a fish through a wavy current. One long wave and two or three shorter waves can provide enough variety on a preschool page.
6. Zigzags: practise corners and direction changes
Zigzags introduce deliberate changes of direction. Large peaks are easier to follow than small, tightly packed ones, so begin with broad mountain or lightning-bolt paths.
Encourage the learner to slow down at each corner. The goal is not to race from start to finish; it is to notice where the direction changes and guide the pencil through the turn.
7. Loops, circles and spirals: practise rounded movement
Round patterns can include circles, large loops and simple spirals. Start with big movements and plenty of space. A loop road, balloon string, snail shell or circular race track can make the movement easy to understand.
Perfect circles are not the target. The useful part of the activity is following a rounded path and learning to control the pencil as it comes back around.
8. Shapes and paths: combine several strokes
Once individual movements are familiar, put them together. A triangle combines diagonal lines and corners; a square combines straight lines and turns; a simple maze can combine lines, curves and changes of direction.
This is a good point to add more playful path-following activities. Instead of tracing a repeated row, the learner can help Migo reach a star, guide a vehicle around a road or follow a mixed line through a scene.
A simple way to use pre-writing worksheets
- Show the movement first. Point to the start and demonstrate the direction with your finger.
- Finger-trace if useful. Let the learner follow the path without a pencil first.
- Use a comfortable tool. A pencil, crayon or suitable marker can all work depending on the activity.
- Do a small amount well. One page or even part of a page can be enough for a session.
- Repeat only when it helps. A dry-erase sleeve or laminated page lets a favourite activity be reused without printing again.
If a learner is already interested in letters, pre-writing patterns do not have to disappear. You can use them alongside early letter practice rather than treating them as a test that must be “passed” first.
When should you move from strokes to letters?
There is no single worksheet score or perfect tracing line that tells you it is time. Look for practical signs instead: the learner can follow a simple path with less help, can change direction without becoming frustrated, and is interested in copying or tracing letter shapes.
When you introduce letters, keep the same principle: large clear examples, short practice and enough empty space. Our name tracing worksheet guide shows one way to move from a model to tracing, copying and an independent attempt.
Printable pre-writing practice from MindAgo
If you want ready-made pages instead of creating each activity yourself, the MindAgo Pre-Writing Adventure Pack contains 25 child-work tracing activities covering straight lines, diagonals, curves, waves, zigzags, loops, circles, spirals, shapes, paths and mixed pre-writing patterns.
The pack includes both A4 and US Letter editions, plus a parent/teacher guide, completion certificate and bonus Minda Dots sample. The 25-page activity count does not include the cover, guide or certificate.
Common questions about pre-writing practice
Do preschoolers need to complete every page?
No. A printable pack is a collection of options, not a checklist that has to be finished in one sequence. Choose the pages that suit the learner and stop when attention or enjoyment drops.
Should children trace with a pencil only?
Not necessarily. Depending on the activity, crayons, suitable markers, finger tracing and reusable dry-erase sleeves can all provide different ways to practise the same movement.
Should the tracing path be very small?
For beginners, generous spacing and larger paths are easier to see and follow. You can reduce the size later when the learner is comfortable with the movement.
Are pre-writing worksheets the same as handwriting worksheets?
They overlap, but they have different focuses. Pre-writing pages usually isolate lines, curves, shapes and paths. Handwriting worksheets add specific letters, numbers or words that the learner must recognise and form.
Related MindAgo resources
Continue with How to Make Name Tracing Worksheets for Preschool, browse the MindAgo Teaching Resources catalogue, or explore Minda Dots if you create your own dotted tracing worksheets.